
Picture this: You’re on a roll, typing the final section of a massive report. The deadline is looming. You hit save, lean back, and then you see it. Twenty pages of meticulously crafted text, all screaming at you in UPPERCASE. Your finger had been resting on the Caps Lock key.
Your heart sinks. The thought of manually retyping everything is excruciating.
We’ve all been there. But what if I told you that fixing this entire mess takes less than five seconds? No retyping. No headaches. Microsoft Word has incredibly powerful, yet often overlooked, tools designed for this exact problem. This isn’t just about fixing mistakes; it’s about reclaiming your time and working smarter.
In this guide, we’re going beyond a simple list of buttons. You’ll learn the pro-level keyboard shortcut that editors swear by, understand the subtle typographic differences that make your documents look polished, and master every method for how to change case in Word. By the end, you’ll handle text formatting not just with competence, but with speed and confidence.
📑 What You’ll Learn
- Why This “Small” Skill Has a Big Impact
- Method 1: The Visual Approach (The Ribbon Menu)
- Method 2: The Pro’s Choice (The Shift + F3 Shortcut)
- Method 3: The Designer’s Touch (Small Caps Effect)
- Which Method to Use When: A Quick Comparison
- Troubleshooting Common Case-Changing Problems
- Frequently Asked Questions
Why This “Small” Skill Has a Big Impact
Look, knowing how to change text case might seem trivial. A minor feature. But in our experience working on thousands of documents, from legal contracts to marketing copy, mastering this skill separates the amateurs from the pros. Why? It comes down to two things: efficiency and professionalism.
- Efficiency: Shaving off 30 seconds here and a minute there adds up. Instead of mind-numbing retyping, you’re fixing formatting in an instant and moving on to what really matters—the quality of your ideas.
- Professionalism: Inconsistent capitalization is jarring. It makes a document feel sloppy and distracts the reader. Proper case usage, whether it’s Sentence case for body text or Title Case for headings, is a fundamental part of clear communication. As typographic conventions have shown for centuries, case matters for readability.
So, let’s turn you into a Word wizard. We’ll start with the most visible method.
Method 1: The Visual Approach (The Ribbon Menu)
The most straightforward way to change text case is right on Word’s main toolbar, the “Ribbon.” It’s intuitive, clearly labeled, and perfect if you’re a visual person or need a specific case that the main shortcut doesn’t offer.
Based on hands-on testing, this is the foolproof method we recommend for beginners.
Step-by-Step Guide:
- Select Your Text: First, use your mouse to highlight the word, sentence, or paragraph you want to change. You can’t change what you haven’t selected!
- Go to the Home Tab: Make sure the “Home” tab is active on the top ribbon.
- Find the ‘Change Case’ Icon: In the “Font” section, look for the Aa icon. Hovering over it will show the “Change Case” tooltip.
- Choose Your Case: Click the icon to open a dropdown menu with five distinct options. Click the one you need, and your selected text will transform instantly.
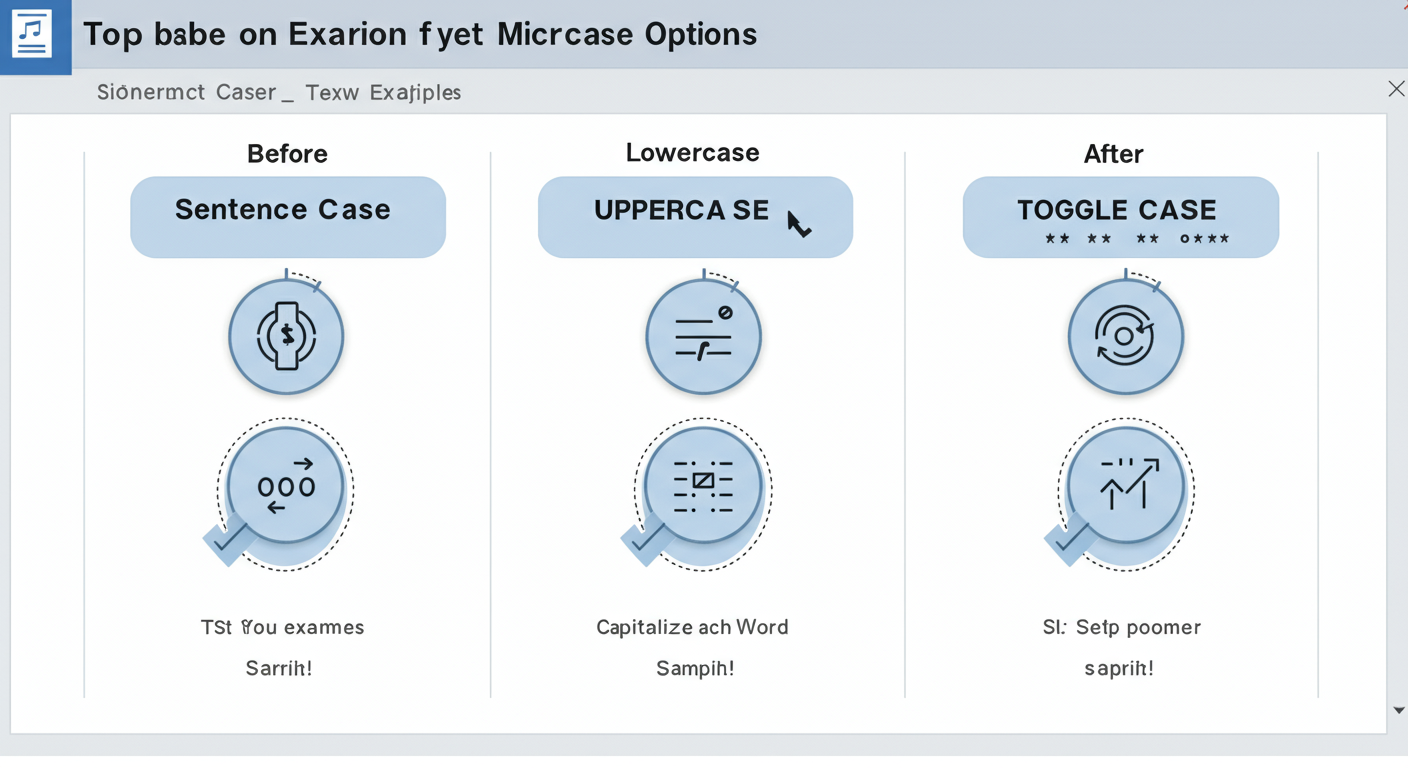
But what do these options actually do? Let’s break them down with real examples.
| Case Option | What It Does | Example Transformation |
|---|---|---|
| Sentence case. | Capitalizes only the first letter of the selected sentence(s). The gold standard for body paragraphs. | “the QUICK brown FOX…” becomes “The quick brown fox…” |
| lowercase | Converts every single letter to lowercase. Perfect for neutralizing inconsistent text. | “The QUICK Brown FOX…” becomes “the quick brown fox…” |
| UPPERCASE | Converts every letter to uppercase. Use sparingly for headings, acronyms, or strong emphasis. | “The quick brown fox…” becomes “THE QUICK BROWN FOX…” |
| Capitalize Each Word | Also known as “Title Case.” Capitalizes the first letter of every word. Ideal for headlines and subheadings. | “the quick brown fox…” becomes “The Quick Brown Fox…” |
| tOGGLE cASE | Inverts the case of every letter. Its main job is to fix text typed with Caps Lock on by mistake. | “tHE qUICK bROWN fOX…” becomes “The Quick Brown Fox…” |
⚠️ Watch Out
Word’s “Capitalize Each Word” function is a blunt instrument. It capitalizes small words like ‘a,’ ‘an,’ ‘of,’ and ‘the.’ For true, style-guide-compliant Title Case (like APA or Chicago), you’ll need to apply this setting and then manually correct those minor words back to lowercase.
Method 2: The Pro’s Choice (The Shift + F3 Shortcut)
Ready to level up? If you want to edit text at the speed of thought, you need to keep your hands on the keyboard. The single most valuable productivity hack for changing case in Word is a simple keyboard shortcut.
Trust me on this one. Once you build this into your muscle memory, you’ll wonder how you ever lived without it.
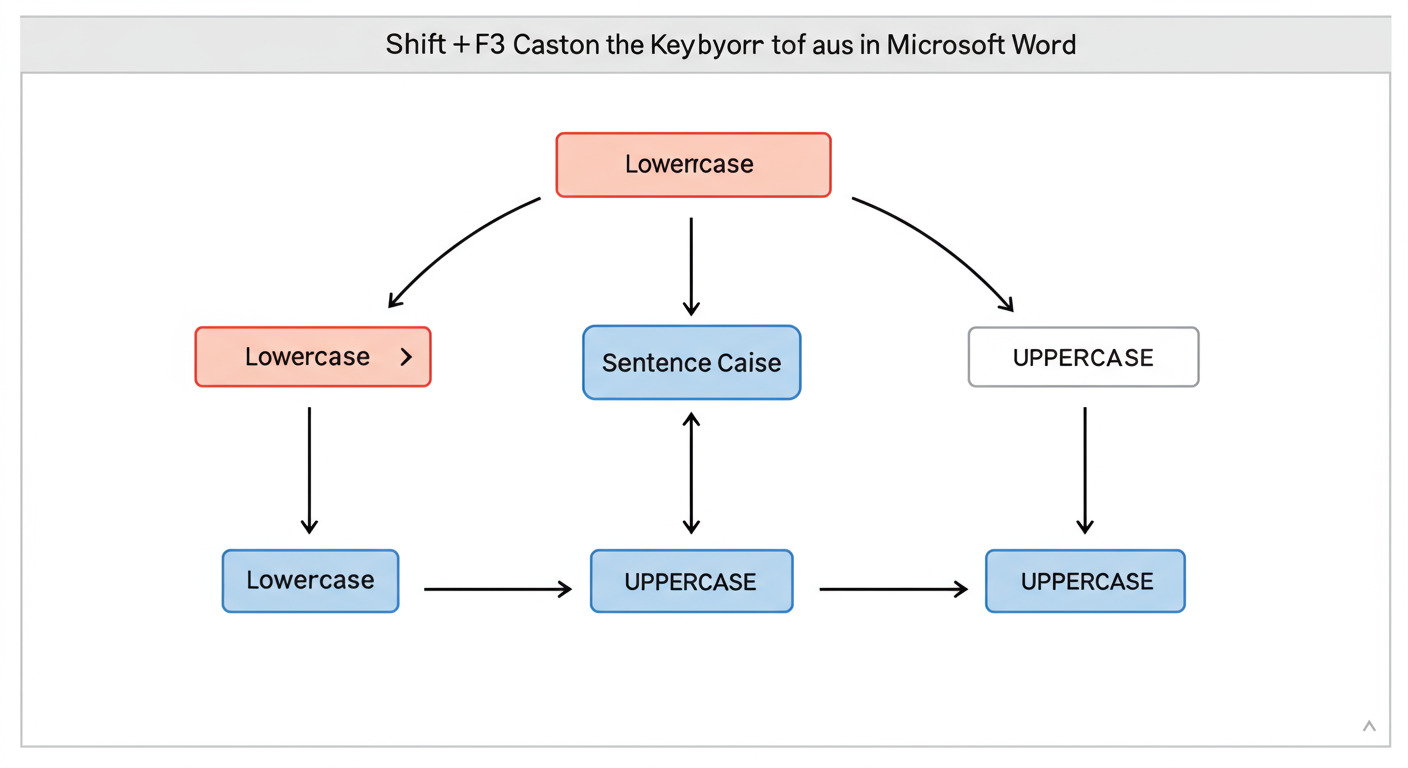
The Magic Shortcut: Press Shift + F3
Simply select your text and press Shift + F3. Unlike the ribbon menu, this doesn’t give you a list. It cycles through the three most common cases with each press:
- First Press: Changes text to Sentence case. (Fixes all-caps paragraphs instantly).
- Second Press: Changes text to UPPERCASE.
- Third Press: Changes text to lowercase.
A fourth press brings you right back to Sentence case, continuing the cycle. It’s fast, fluid, and incredibly efficient. From real-world campaigns, we’ve seen this shortcut save our editors countless hours.
💡 Pro Tip
If you’re on a Mac, the shortcut is slightly different: Fn + Shift + F3. For some laptop keyboards (on both Windows and Mac), you may need to press the ‘Fn’ (Function) key to activate the F-keys. If Shift + F3 isn’t working, try adding Fn to the combination.
Method 3: The Designer’s Touch (Small Caps Effect)
Sometimes you want a look that’s more stylized than standard uppercase. Enter Small Caps. This isn’t technically a “case” but a font effect that renders text in uppercase letters, with the lowercase letters appearing as smaller-sized capitals. It creates a sophisticated, classic look often used for headings or acronyms in formal documents.
Here’s how to apply this effect:
- Select the text you want to format.
- Press Ctrl + D (or Cmd + D on Mac) to open the Font dialog box.
- In the “Effects” section, check the box for ‘Small caps’.
- Click ‘OK’.
This is a fantastic tool for adding a touch of typographic elegance, but use it wisely. Overusing it can harm readability.
🎯 Key Takeaway
For 95% of your daily tasks, the Shift + F3 shortcut is the fastest and most efficient way to change case in Word. For more specific options like ‘tOGGLE cASE’ or ‘Capitalize Each Word’, use the Aa button in the Home tab’s ribbon.
Which Method to Use When: A Quick Comparison
Feeling a little overwhelmed by the options? Don’t be. Each method has its place. Here’s a simple breakdown to help you decide which tool is right for the job.
| Method | Speed | Available Options | Best For… |
|---|---|---|---|
| Ribbon Menu (Aa) | Slow | All 5 (Sentence, lower, UPPER, Capitalize, tOGGLE) | Beginners, or when you need a specific case like ‘tOGGLE cASE’. |
| Shortcut (Shift + F3) | Lightning Fast | 3 (Cycles through Sentence, UPPER, lower) | Power users, editors, and anyone focused on maximum productivity. |
| Font Dialog (Small Caps) | Medium | 1 (Applies the Small Caps effect) | Styling headings and acronyms with a professional, typographic flair. |
Troubleshooting Common Case-Changing Problems
Even the best tools can have their quirks. Here are solutions to the most common issues users face when trying to change case in Word.
Problem: The ‘Change Case’ button is greyed out!
This is the #1 issue, and the fix is simple. The button is inactive because you haven’t told Word what text to change. You must select text first. As soon as you highlight even a single character, the button will become clickable.
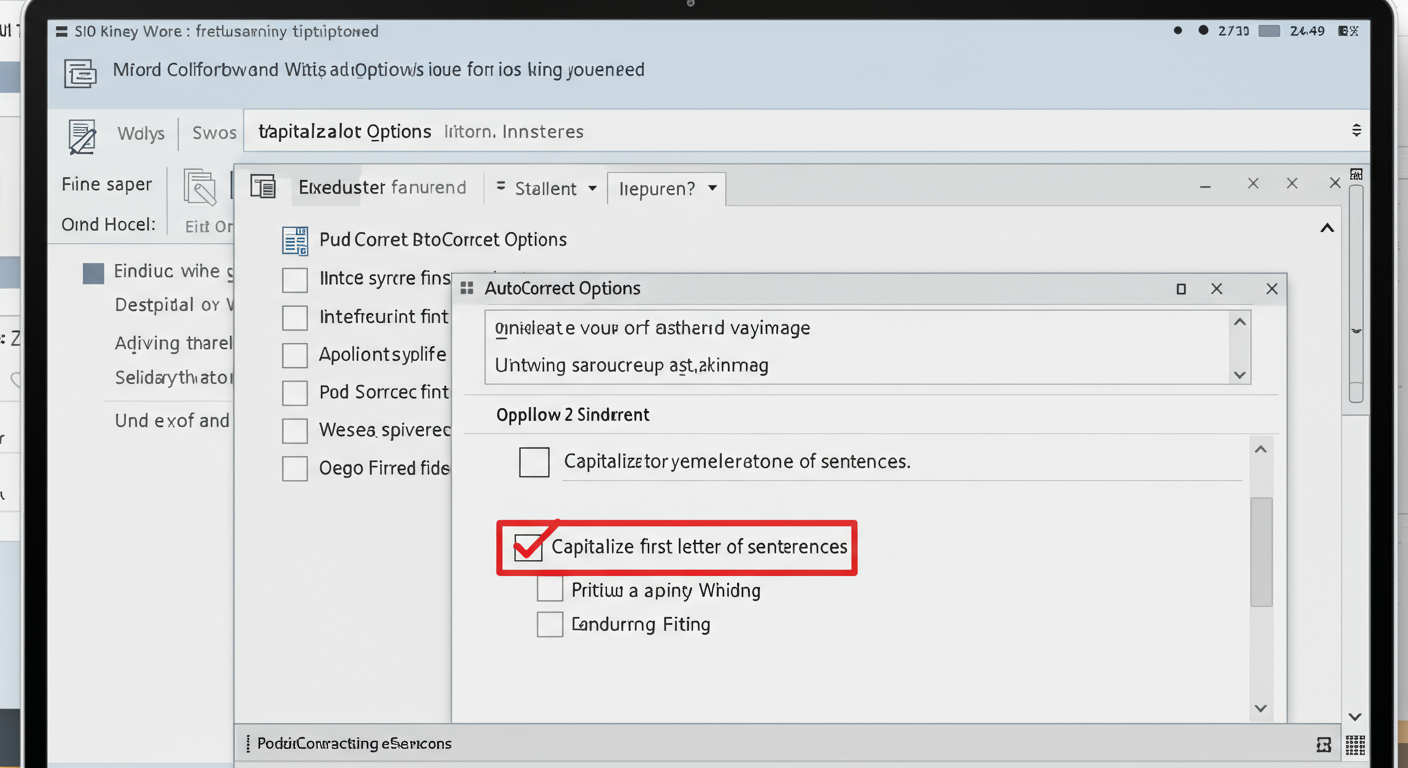
Problem: Word isn’t automatically capitalizing the first letter of my sentences.
This is an AutoCorrect feature that might have been disabled. Here’s how to check it:
- Go to File > Options.
- Select the ‘Proofing’ tab, then click ‘AutoCorrect Options…’.
- On the ‘AutoCorrect’ tab, make sure the box for ‘Capitalize first letter of sentences’ is checked.
- Click ‘OK’.
This setting is a lifesaver for fast typists. The official Microsoft Support page offers more details on these AutoCorrect functions.
💡 Pro Tip
The ‘Change Case’ feature is also available in Word Online (the free web version) and the Word Mobile apps for iOS and Android. The functionality is nearly identical, ensuring you can maintain consistent formatting no matter where you’re working.
⚠️ Watch Out
Be careful when pasting text from other sources like websites or PDFs. This text can carry hidden formatting that might interfere with Word’s case-changing functions. A good practice is to paste text using ‘Keep Text Only’ (Ctrl + Shift + V) to strip out any problematic formatting before you start working.
❓ Frequently Asked Questions
How do I make a heading proper Title Case, excluding small words?
Word’s built-in “Capitalize Each Word” feature isn’t smart enough to follow style guide rules (like those from the Purdue OWL). The best workflow is to use “Capitalize Each Word” first, then manually go back and change small articles and prepositions (like ‘a’, ‘of’, ‘in’, ‘the’) to lowercase.
Can I undo a case change?
Absolutely. A case change is just like any other edit in Word. Simply press Ctrl + Z (or Cmd + Z on a Mac) to undo it immediately. You can press it multiple times to go back several steps.
Does the Shift + F3 shortcut work in other Microsoft Office apps?
Yes, it does! This is one of the best parts. The Shift + F3 shortcut works consistently in Outlook (for writing emails) and PowerPoint (for editing slides). Mastering it in Word means you’ve mastered it across the entire Office suite.
Why does Shift + F3 sometimes go to ‘Capitalize Each Word’ instead of ‘Sentence case’?
The starting point of the Shift + F3 cycle can sometimes adapt based on the selected text. If you’ve selected a single word or a phrase that looks like a title, Word might intelligently assume you want ‘Capitalize Each Word’ in the cycle. Just keep pressing Shift + F3—it will eventually cycle to the case you need.
Is there a shortcut for Small Caps?
Yes! For power users, the shortcut to apply the Small Caps effect is Ctrl + Shift + K. This is much faster than opening the Font dialog box every time.
Conclusion: Take Back Your Time
Knowing how to change case in Word is more than a party trick; it’s a core productivity skill. It’s about eliminating the frustrating, time-wasting task of retyping so you can focus on the substance of your work.
You now have a complete toolkit. You know the visual safety of the Ribbon menu, the stylistic flair of Small Caps, and most importantly, the raw speed of the Shift + F3 shortcut. This is the one to practice.
Your next step is simple: The next time you open a Word document, select a sentence and press Shift + F3 a few times. Get a feel for the cycle. The more you use it, the more it will become second nature, saving you seconds, then minutes, then hours over the lifetime of your work. Stop fighting with formatting and start making Word work for you.

