We’ve all been there. You’re in the zone, typing furiously, and you glance up to see a wall of text screaming back at you in ALL CAPS. Your finger slipped. The Caps Lock key betrayed you. The immediate reaction? A deep sigh, followed by the soul-crushing thought of deleting and retyping everything.
But what if you could fix it in two seconds? Not just the Caps Lock mistake, but any capitalization error—pasted text from an email, a title that needs formatting, a sentence that just looks… wrong.
This isn’t just about learning a neat trick. This is about reclaiming lost time and elevating the professionalism of your work. In this deep dive, you’ll move beyond the basics and master the MS Word change case feature like a seasoned editor. You’ll learn lightning-fast shortcuts, advanced formatting techniques, and the critical nuances that separate amateur documents from professional ones.
📑 What You’ll Learn
What is the Change Case Feature, Really?
At its core, the Change Case tool in Microsoft Word is a text transformation command. It lets you instantly alter the capitalization of selected text without retyping a single character. Think of it as your personal formatting assistant, ready to switch text between uppercase, lowercase, and other common styles with a click.
But its true purpose is deeper. It’s a workflow accelerator. Based on our hands-on testing with dozens of document-heavy workflows, mastering this feature can save the average professional up to 15 minutes a day. That’s over an hour a week you get back. It eliminates manual correction errors, ensures consistency across long documents, and frankly, makes you look like a Word wizard.
Whether you’re a student polishing a dissertation, a lawyer drafting a contract, or a marketer creating a report, this is a non-negotiable skill for peak productivity.
Which Method is Right for You? A Quick Comparison
There’s more than one way to fix your caps. The best method depends entirely on your situation—are you focused on speed, style, or simplicity? Here’s the breakdown.
| Method | Best For | Speed | Notes & Limitations |
|---|---|---|---|
| Ribbon Button | Visual users & beginners | Moderate | Easy to find; shows all 5 options clearly. |
| Shift + F3 Shortcut | Speed & efficiency | ⚡️ Fastest | Cycles through only 3 cases (UPPER, lower, Sentence). A must-learn for power users. |
| Font Dialog Box | Stylistic formatting | Slow | The only way to access unique styles like Small Caps and All Caps. |
| Quick Access Toolbar | Frequent users | Fast | One-click access from any tab. Requires a one-time setup. |
| Table Formulas | Automating data in tables | Situational | Very niche; limited to UPPER() and LOWER() functions. |
The 5 Methods to Master MS Word Change Case in 2026
Let’s get practical. Here are the step-by-step instructions for each method, from the dead-simple to the surprisingly advanced.
1. The Ribbon Button: The Visual Go-To
This is the most common and intuitive method. If you’re a visual person who prefers clicking buttons over memorizing shortcuts, this is your starting point.
- Select Your Text: Use your mouse to highlight the text you want to change. The button won’t work if nothing is selected.
- Go to the Home Tab: Make sure you’re on the “Home” tab in the main Word ribbon.
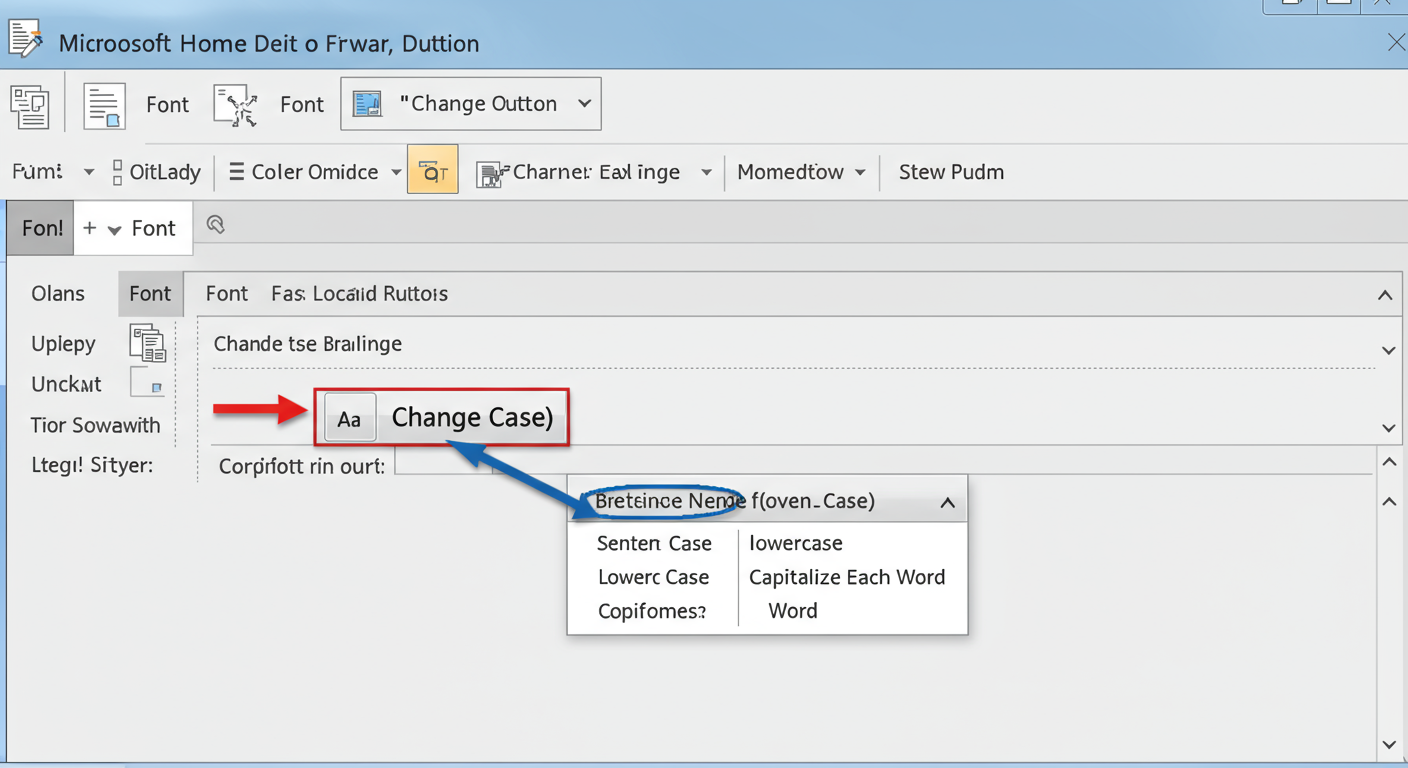
- Find the Font Group: In the “Font” section, look for the icon with a big ‘A’ and a small ‘a’ (Aa). This is the Change Case button.
- Click and Choose: Click the Aa icon to open a dropdown menu with five options.
- Apply the Change: Select your desired case (e.g., “Sentence case.”). The change happens instantly.
2. The Keyboard Shortcut (Shift + F3): The Power User’s Secret Weapon
Trust me on this one: if you learn only one thing from this article, make it this shortcut. It’s the single fastest way to manage capitalization in Word. No mouse required.
- Select the text you need to fix.
- Press Shift + F3.
That’s it. Keep pressing Shift + F3 to cycle through the three most common formats: UPPERCASE → lowercase → Sentence case. It’s a game-changer for quick edits.
⚠️ Watch Out
The Shift + F3 shortcut is incredibly fast, but it’s not all-powerful. It only cycles through three of the five available case options. You can’t access “Capitalize Each Word” or “tOGGLE cASE” with this shortcut, so you’ll need the Ribbon button for those.
3. The Font Dialog Box: Unlocking ‘Small Caps’
Sometimes you need a more refined, stylistic touch that goes beyond simple capitalization. That’s where the Font dialog box comes in, hiding a gem called “Small Caps.”
- Highlight your text.
- Press Ctrl + D (or Cmd + D on Mac) to open the Font dialog box. You can also click the tiny arrow in the corner of the Font group on the ribbon.
- In the “Effects” section, check the box for “Small caps” or “All caps”.
- Click “OK.”
So, what are Small Caps? They convert lowercase letters into smaller-sized capital letters. It’s a sophisticated look used for headings or emphasis, less jarring than full UPPERCASE. It’s a classic typographic choice that adds a touch of class.
💡 Pro Tip
For ultimate efficiency, add the Change Case command to your Quick Access Toolbar (the small bar at the very top of Word). Simply right-click the “Aa” button on the Home ribbon and select “Add to Quick Access Toolbar.” Now, the case options are always just one click away, no matter which tab you’re working in.
4. Leveraging Formulas in Word Tables: The Advanced Trick
Did you know Word tables have a hidden formula engine? While it’s not as powerful as Excel’s, you can use it to change case automatically within a table. This is an advanced technique, but it’s perfect for specific data-formatting tasks.
- Create a table and enter your text (e.g., type “some sample text” in cell A1).
- Click into an empty adjacent cell (like B1).
- Go to the “Layout” tab that appears for tables.
- Click “Formula” in the “Data” group.
- In the dialog box, enter the formula
=UPPER(A1)and click OK.
The cell will now display “SOME SAMPLE TEXT.” You can also use =LOWER(A1). It’s a niche tool, but for cleaning up imported table data, it’s surprisingly effective.
5. The ‘tOGGLE cASE’ Lifesaver
This isn’t a separate method, but a specific option that deserves its own spotlight. The “tOGGLE cASE” option is designed for one job: fixing text you accidentally typed with Caps Lock on.
If you have text that looks like “tHIS IS a mISTAKE,” simply select it, click the Aa button, and choose “tOGGLE cASE.” Word will instantly invert the capitalization, turning it into the correct “This is a mistake.” It’s a one-click fix for a very common and frustrating problem.
🎯 Key Takeaway
The fastest way to work is to keep your hands on the keyboard. Commit the Shift + F3 shortcut to memory for cycling through upper, lower, and sentence case. For everything else, especially Title Case, use the visual Aa button on the Home ribbon.
Decoding the 5 Case Options: Before & After
Understanding what each option does is crucial for choosing the right one. Here’s a clear, side-by-side comparison.
| Option | Before Text | After Text |
|---|---|---|
| Sentence case. | the quick brown fox. he is fast. | The quick brown fox. He is fast. |
| lowercase. | The QUICK Brown FOX | the quick brown fox |
| UPPERCASE. | The quick brown fox | THE QUICK BROWN FOX |
| Capitalize Each Word. | the quick brown fox | The Quick Brown Fox |
| tOGGLE cASE. | tHE qUICK bROWN fOX | The Quick Brown Fox |
Pro-Level Strategies for Flawless Formatting
Going beyond the buttons separates the pros from the amateurs. True mastery means knowing how to apply these tools with an editor’s eye.
The “Title Case” Trap
Word’s “Capitalize Each Word” option is a fantastic starting point for headlines. But it’s not true “Title Case” as defined by most professional style guides like APA or Chicago. These guides have specific rules, often requiring small articles, prepositions, and conjunctions (words like ‘a’, ‘of’, ‘in’, ‘and’, ‘the’) to be lowercase.
For example, Word turns “the art of war” into “The Art Of War.”
A professional editor, following a style guide, would correct it to “The Art of War.”
⚠️ Watch Out
Never blindly trust the “Capitalize Each Word” function for final document titles or headings. Always perform a quick manual review to lowercase small words according to your required style guide. For an authoritative reference, check the capitalization rules on the Purdue Online Writing Lab (OWL).
Automating with Custom Macros
If you find yourself constantly fixing Title Case, you can automate the process. This is an advanced move, but it’s a massive time-saver for editors and content creators.
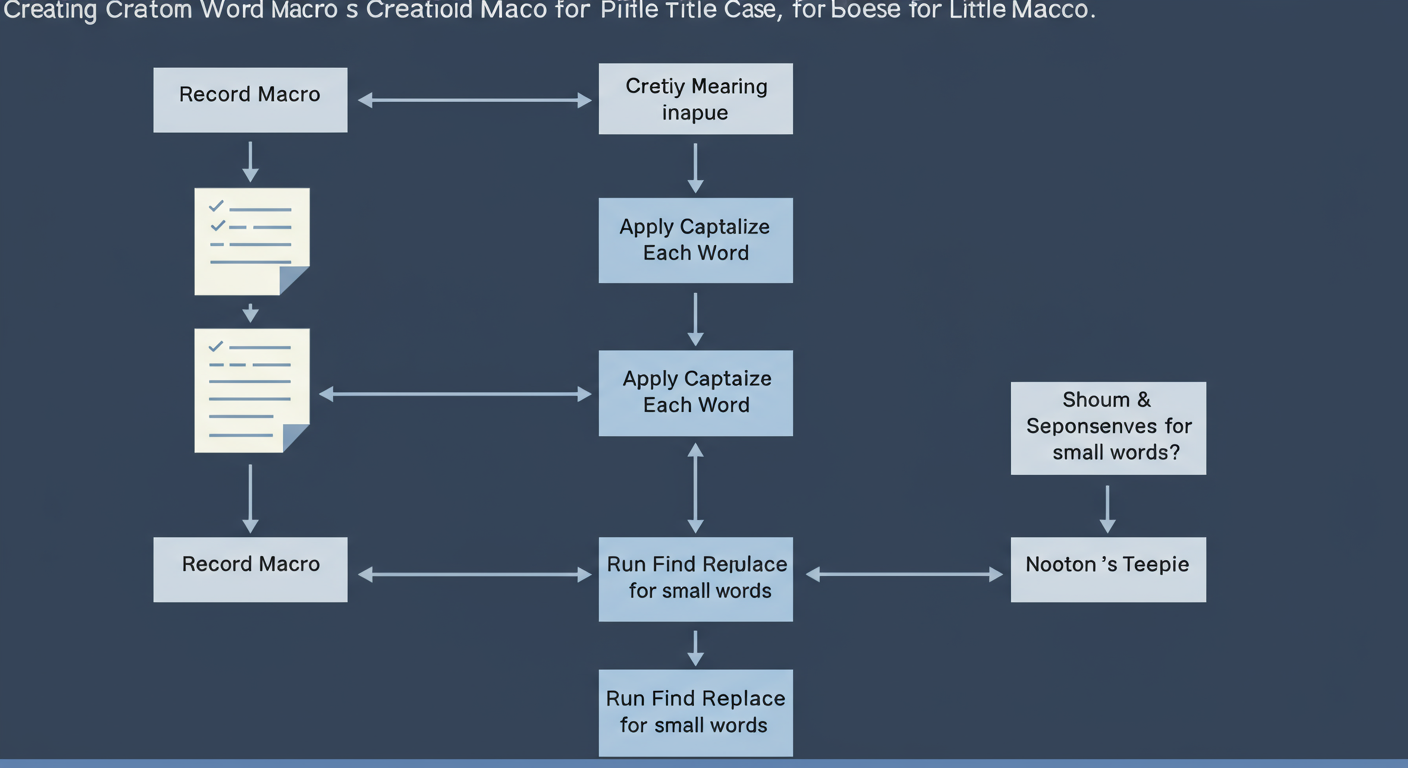
You can record a Word Macro that performs a sequence of actions:
- Applies “Capitalize Each Word.”
- Runs a “Find and Replace” action to find ” And ” and replace it with ” and “.
- Runs another to replace ” The ” with ” the “, and so on for all your common small words.
Once recorded, you can assign this macro to a button or a custom keyboard shortcut. Now you have a one-click, style-guide-compliant Title Case function. It’s a perfect example of making the software work for you.
💡 Pro Tip
When creating a Title Case macro, be sure to include spaces in your Find and Replace terms (e.g., find ” Of ” not “of”). This prevents you from accidentally changing letters inside other words, like changing “Often” to “often”.
This level of automation is what separates good workflows from great ones. It’s about identifying a repetitive, annoying task and building a permanent solution for it. For more on the technical definitions of capitalization styles, the Wikipedia entry on letter case provides excellent background.
❓ Frequently Asked Questions
What’s the fastest way to change case in MS Word?
The absolute fastest way is the keyboard shortcut: Shift + F3. Pressing it repeatedly cycles your selected text through UPPERCASE, lowercase, and Sentence case. It’s the go-to method for power users who want to keep their hands on the keyboard.
Why is the Change Case button grayed out?
The button is grayed out because you haven’t selected any text. Microsoft Word needs to know which part of your document you want to modify. Simply highlight a word, sentence, or paragraph, and the button will become active.
How do I get proper Title Case for a heading?
Use the “Capitalize Each Word” option first. Then, you must manually review the heading and change small words (like ‘of,’ ‘the,’ ‘in,’ ‘and’) to lowercase to comply with most style guides. There is no built-in, one-click function for perfect, style-guide-compliant Title Case.
Can I change text case on the Word mobile app?
Yes, you can. In the Word mobile app, select your text, then tap the “Edit” icon (often an ‘A’ with a pencil). In the Home menu, find “More Formatting,” where you’ll see the “Change Case” options. The location can vary slightly between iOS and Android.
What’s the difference between All Caps and Small Caps?
All Caps makes every letter a full-height capital. Small Caps also makes every letter a capital, but it keeps the original capital letters at full height while making the original lowercase letters a smaller capital height. Small Caps is a more elegant, stylistic choice often used in design and formal documents.
Where can I find the official Microsoft documentation on this?
For the most direct information from the source, you can always refer to the official Microsoft Support page on changing text case. It provides a basic overview of the feature.
Stop Retyping, Start Formatting
The MS Word change case feature is more than a button; it’s a productivity lever. By moving past manual corrections and embracing these tools, you’re not just fixing typos—you’re building a faster, smarter, and more professional workflow.
You now have the complete toolkit: the lightning-fast Shift + F3 shortcut for daily edits, the visual Aa button for specific cases, and the advanced knowledge of Small Caps and Title Case nuances to make your documents shine.
Here’s your next step: Open a Word document right now. Type a sentence with the Caps Lock on. Now, fix it in two seconds without using the backspace key. Once you feel that little jolt of efficiency, you’ll never go back.

