Ever bend over and feel that familiar, frustrating wall of tension? Your hands dangle somewhere around your knees, your feet feel a million miles away, and your lower back starts to complain. You’re not alone. But what if I told you that finally achieving the hands to feet stretch isn’t just about “stretching more”?
It’s about unlocking a powerful system in your body that governs everything from your posture to your athletic performance and even your stress levels. This isn’t just a party trick; it’s a fundamental key to physical freedom.
In this deep dive, we’re going beyond the generic “bend your knees” advice. You’re about to learn the biomechanics of why you’re stuck, the exact step-by-step technique we teach our clients, and the common mistakes that are secretly sabotaging your progress. Get ready to transform your relationship with flexibility.
📑 What You’ll Learn
- Why This Stretch Is More Than Just a Hamstring Lengthener
- The Anatomy of “Stuck”: What’s Really Holding You Back?
- The Blueprint: A 5-Step Guide to the Perfect Forward Fold
- 3 Common Mistakes That Sabotage Your Progress
- Your Personal Flexibility Toolkit: Modifications & Progressions
- Frequently Asked Questions
Why This Stretch Is More Than Just a Hamstring Lengthener
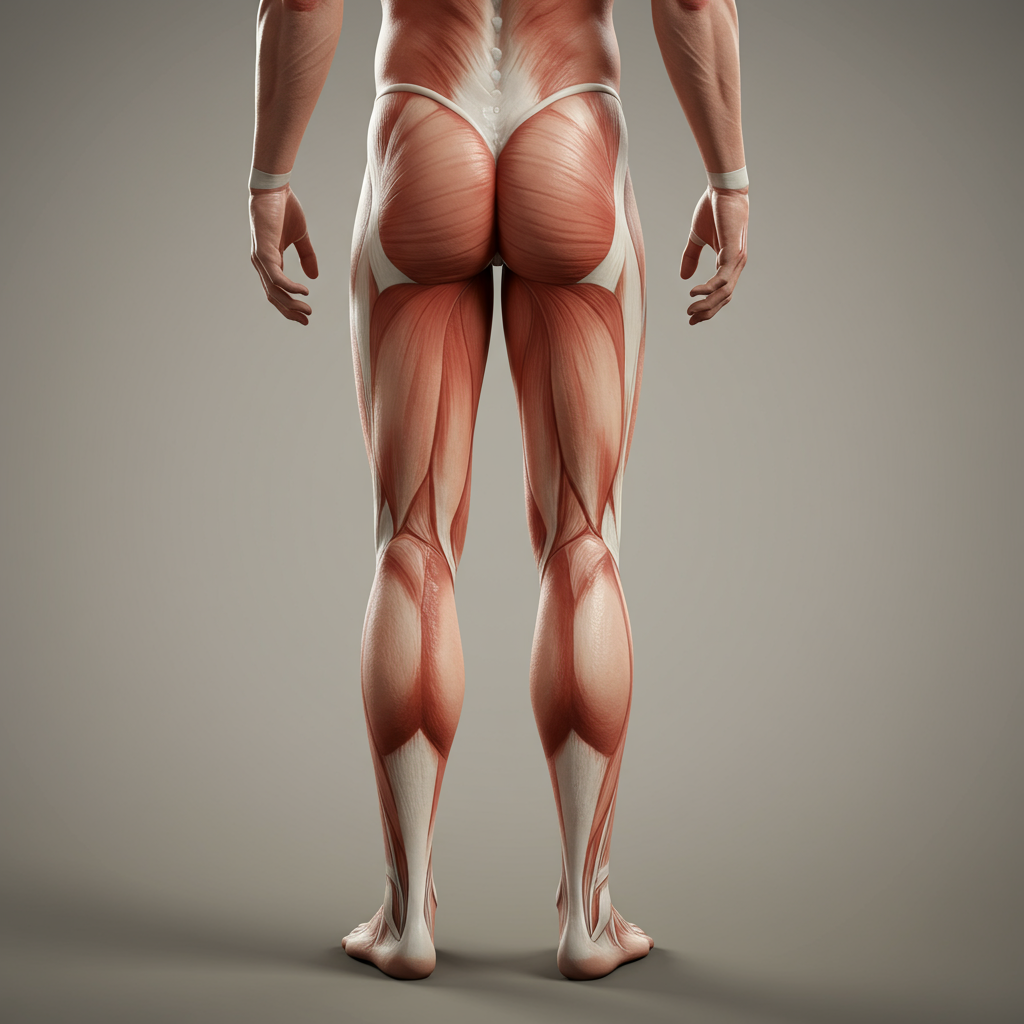
Let’s get one thing straight: the forward fold, or Uttanasana in yoga, is a full-body movement. Its benefits ripple out far beyond your hamstrings. When you perform the hands to feet stretch correctly, you’re targeting the entire posterior chain—an interconnected network of muscles, tendons, and fascia running from the soles of your feet all the way up to your skull.
Think of it as a single, integrated system. In our modern lives, this chain gets chronically tight from hours of sitting, which can lead to a cascade of problems. Releasing it isn’t just a “nice-to-have.” It’s essential maintenance for a healthy, pain-free body.
Based on our experience with clients ranging from office workers to professional athletes, addressing posterior chain tightness is one of the fastest ways to see dramatic improvements in overall well-being.
| Symptom of a Tight Posterior Chain | Benefit of a Flexible Posterior Chain |
|---|---|
| Chronic low back pain and stiffness | Significant reduction in lower back tension |
| Poor posture (slouching, forward head) | Improved posture and spinal alignment |
| Increased risk of hamstring strains & knee pain | Lowered injury risk during sports and daily life |
| Limited athletic performance (running, lifting) | Enhanced power, speed, and range of motion |
| Feelings of physical restriction and tension | Greater physical freedom and a calmer nervous system |
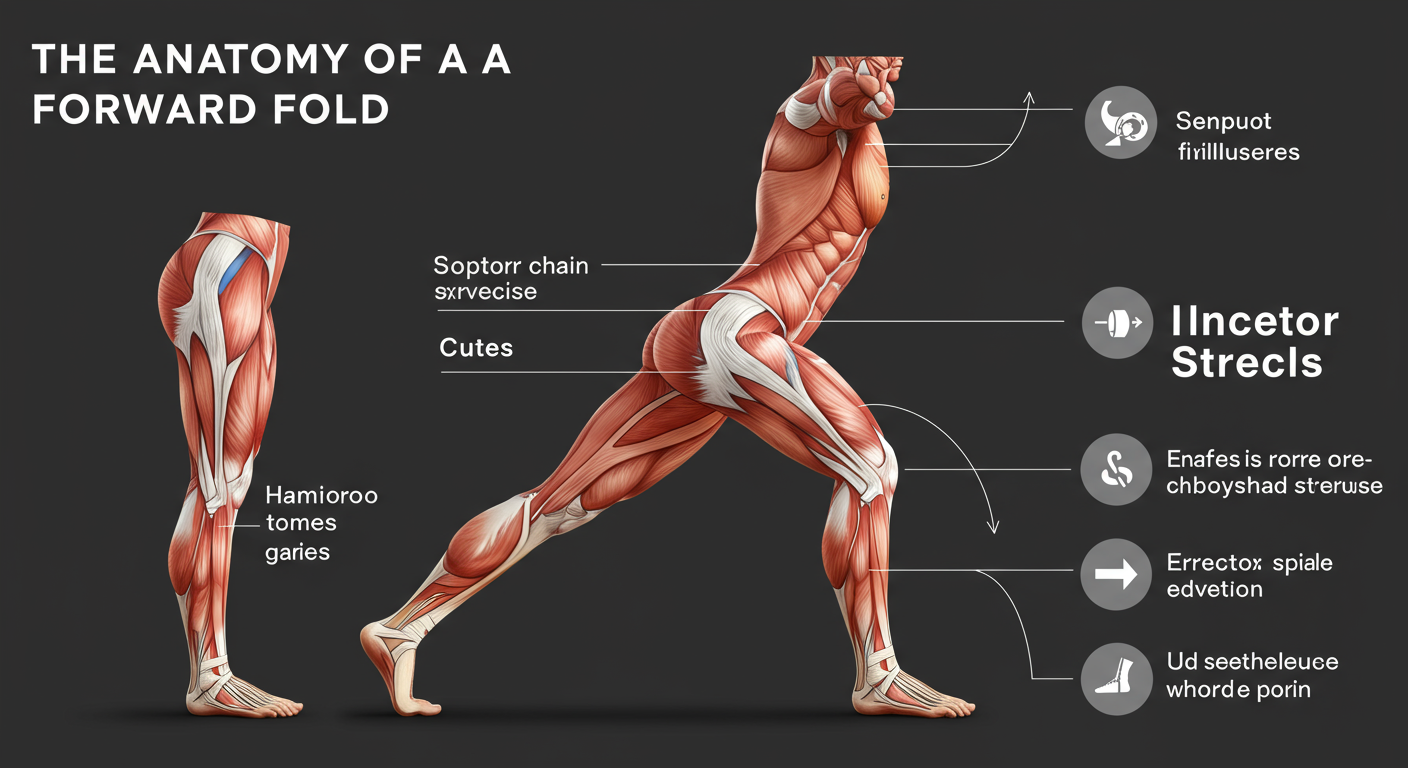
The Anatomy of “Stuck”: What’s Really Holding You Back?
So, why can’t you reach your feet? It’s rarely about having “short arms.” The restriction is almost always tension in one or more key areas of that posterior chain. Understanding these culprits is the first step to conquering them.
- The Hamstrings: The obvious one. This group of three muscles on the back of your thigh is the primary target. When they’re tight, they pull down on your pelvis, making it incredibly difficult to hinge forward.
- The Glutes: Your powerful butt muscles are major hip extensors. If they’re tight from sitting or overuse, they’ll lock up your pelvis and prevent the forward tilt needed for a deep fold.
- The Calves: Surprise! Your calf muscles (the gastrocnemius and soleus) connect via fascia all the way up your leg. Tight calves can create a “pull” that limits your hamstrings’ ability to lengthen fully.
- The Thoracolumbar Fascia: This is a huge, diamond-shaped sheet of connective tissue in your lower back. While you don’t want to over-stretch it by rounding your spine, learning to release it after initiating a proper hip hinge is key for a deeper fold.
It’s a chain reaction. Tension in one area creates drag on the next. The goal isn’t to brutally force one muscle to lengthen; it’s to teach the entire system to release and work together.
💡 Pro Tip
Test your calves! Before you stretch, stand facing a wall and do a classic calf stretch. Then, try your forward fold again. If you get a little further, you’ve just found a major key to unlocking your hamstrings. Focus on calf mobility as part of your routine.
The Blueprint: A 5-Step Guide to the Perfect Forward Fold
Ready to put theory into practice? Forget about forcing it. This method is all about technique, breath, and patience. Always warm up for a few minutes first with light movement like marching in place or leg swings.
- Set Your Foundation: Stand with your feet hip-width apart, parallel like train tracks. Ground down through all four corners of your feet. Take a deep inhale and reach your arms overhead, actively lengthening your entire torso. Create space.
- Master the Hip Hinge: This is the most critical step. As you exhale, place your hands on your hips. Now, hinge from your hip crease, not your waist. Imagine you’re trying to stick your butt out to touch a wall behind you. Keep your back completely flat for as long as possible. This is the secret.
- Bend Your Knees (A Lot!): Here’s where the magic happens. As you hinge forward and your hamstrings start to talk to you, bend your knees generously. Bend them enough that you can rest your belly and chest directly on your thighs. This takes all the dangerous strain off your lower back and allows your hamstrings to be the focus.
- Let Go and Breathe: Now that your torso is supported, let your head and neck hang completely heavy. No tension. Grab your opposite elbows, your ankles, or your shins. With every inhale, think about creating a longer spine. With every exhale, sink deeper into the pose, releasing tension. Stay here for 30-60 seconds (or 5-10 deep breaths).
- Roll Up Safely: To exit, release your hands. Keep a generous bend in your knees and press firmly through your feet. Slowly, deliberately, roll up one vertebra at a time. Your head should be the absolute last thing to lift. This prevents dizziness and protects your spine.

⚠️ Watch Out
Avoid “ballistic stretching”—the technical term for bouncing. Bouncing in a deep stretch can trigger the stretch reflex, a protective mechanism where your muscle actually tightens up to prevent a tear. It’s counterproductive and dangerous. Hold the stretch statically and use your breath to go deeper.
3 Common Mistakes That Sabotage Your Progress
I’ve seen it thousands of time in classes and with clients. People practice for months with zero progress because they’re making one of these fundamental errors. Are you one of them?
- Leading with Your Head and Shoulders. The ego wants to get the head to the knees. So, the first move is to round the upper back and crane the neck down. This completely bypasses the hamstring stretch and puts a ton of pressure on your spinal discs. The Fix: Lead with your chest. Imagine a string pulling your heart forward and down, not your head.
- Forcing Straight Legs Too Soon. Locking your knees and trying to force the stretch is a recipe for injury. It puts immense strain on the hamstring attachments behind the knee and on the lower back. Trust me on this one. The Fix: Bent knees are your best friend. A bent-knee forward fold that stretches your hamstrings is 100x better than a straight-leg “fold” that only strains your back.
- Holding Your Breath. When a stretch feels intense, the natural reaction is to hold your breath. This creates tension throughout your body and tells your nervous system there’s a threat, causing your muscles to guard and tighten. The Fix: Make your exhale longer than your inhale. This activates the parasympathetic nervous system, which signals your body it’s safe to relax and let go. As experts at the Mayo Clinic emphasize, proper breathing is integral to effective stretching.
🎯 Key Takeaway
The secret to the hands to feet stretch isn’t brute force; it’s technique. Prioritize a hip hinge over a back-round, embrace bent knees to protect your spine, and use your breath as a tool to release tension. Consistency with good form will always beat intensity with bad form.
Your Personal Flexibility Toolkit: Modifications & Progressions
Your body is unique. Your stretch should be, too. Meet your body where it is today with these tools. There’s no ego in flexibility—only smart, safe progress.
| Modification Tool | Primary Benefit | Best For… |
|---|---|---|
| Yoga Blocks | Brings the floor up to you, promoting a flat back. | Beginners who can’t reach the floor without significantly rounding their spine. |
| Stretching Strap | Extends your reach, allowing a gentle “pull” to deepen the stretch. | Those with very tight hamstrings who can’t yet reach their shins or ankles. |
| Generously Bent Knees | Deactivates the lower back, isolating the hamstring stretch. | Everyone, but especially those with a history of back pain or extreme tightness. |
How to Use Your Tools:
- With Blocks: Place two blocks (at any height) on the floor in front of your feet. As you hinge forward, place your hands on the blocks. Focus on keeping your spine long.
- With a Strap: In a seated position with legs extended, loop a strap (or towel) around the balls of your feet. Hold the ends and gently pull your chest forward, keeping your back straight. This is a great alternative to the standing fold.
Ready for the Next Level? The True Hands to Feet Pose
Once you can comfortably place your palms flat on the floor with mostly straight legs, you’re ready for Padahastasana (literally “Hand-Under-Foot Pose”).
From your deep forward fold, bend your knees just enough to slide your hands, palms facing up, all the way under your feet. Your toes should be pressing into your wrist creases. Let your head hang. As you exhale, gently try to straighten your legs. This creates an intense, therapeutic stretch for the hamstrings and a wonderful release for the wrist flexors. It’s a goal worth working towards!

💡 Pro Tip
Consistency trumps intensity. After testing this with countless individuals, we’ve found that a gentle, 2-minute forward fold every single day yields far better and safer results than one intense, 20-minute session per week. Make it a non-negotiable part of your morning or evening routine.
⚠️ Watch Out
Stop comparing your flexibility to others. Your flexibility is determined by a unique mix of genetics, anatomy (like the shape of your hip sockets), injury history, and lifestyle. Your goal is not to look like a yoga model on Instagram; it’s to improve your own range of motion and feel better in your body. Focus on your own progress, period.
❓ Frequently Asked Questions
How long does it take to touch my hands to my feet?
There’s no magic number. For some, it’s weeks; for others, it’s many months or even a year. It depends on your starting point, consistency, and genetics. The key is to focus on the process and the feeling of release, not the end goal. Celebrate small wins, like reaching your shins instead of your knees.
Is it actually bad if I can’t touch my toes?
It’s not “bad” in a moral sense, but it’s a very strong indicator of significant tightness in your posterior chain. Research consistently shows a link between poor hamstring flexibility and an increased risk of issues like low back pain and muscle strains. Improving it is one of the best things you can do for your long-term musculoskeletal health. A study in the International Journal of Sports Physical Therapy highlights the importance of hamstring flexibility for injury prevention.
Should I do this stretch before or after a workout?
After. This type of deep, static stretching is best performed when your muscles are warm and pliable, like after a run, a gym session, or even a hot shower. Before a workout, focus on dynamic stretches (like leg swings and torso twists) to prepare your body for movement.
Can I do the hands to feet stretch every day?
Absolutely. A gentle, daily practice is highly encouraged. Listen to your body—if you feel any sharp, shooting, or electrical pain, back off immediately. Muscle soreness is normal, but pain is a signal to stop. A minute or two each day is a fantastic habit.
My lower back hurts when I do this. What am I doing wrong?
You’re likely rounding your back instead of hinging at your hips and/or not bending your knees enough. Stop immediately. Reset by standing up, placing hands on your hips, and focusing only on the hip hinge with a flat back. Bend your knees so much that your belly touches your thighs. This should take the pressure off your back entirely.
Conclusion: Your Journey to a More Resilient Body
The journey to touching your hands to your feet is a powerful lesson in patience and body awareness. It’s not about forcing a position; it’s about unwinding years of tension, one breath at a time. You now have the complete blueprint for success.
Remember the core principles:
- Hinge from your hips, not your waist.
- Bend your knees as much as you need to. They are your safety valve.
- Breathe deeply and let your exhale be your guide to release.
Stop seeing this stretch as a measure of failure and start seeing it as an opportunity. An opportunity to relieve back pain, improve your posture, and build a more mobile, resilient body for the years to come. Your journey starts now. Go spend two minutes with this stretch today.

