
Picture this: You’re cleaning up your desktop and you find a file named IMG_8829_copy.jpg. It’s a stunning photo, but you have zero clue where it came from. Did you shoot it? Did you download it? Is it copyrighted?
Or maybe you’re a designer drowning in a sea of duplicate assets, trying to figure out which folder holds the high-res version of a logo. In 2026, our digital lives are cluttered with visual data. We don’t just need text search anymore; we need to search by pixels.
Here’s the reality: knowing how to reverse search image in local files is no longer just a “nice-to-have” skill—it’s a digital survival tactic. Whether you need to verify a source on the web or declutter your hard drive, the process is distinct, and using the wrong tool can waste hours of your time.
In this guide, I’m going to walk you through the exact workflows I’ve used to manage terabytes of visual assets. We’ll cover the best browser tools for web verification and the heavy-duty software for local storage management. Let’s get your digital library sorted.
📑 What You’ll Learn
The Two Types of Local Image Search
Before we open any software, we need to clear up a common misconception. In my experience working with SEO clients and photographers, people use the phrase “reverse search image in local files” to mean two completely different things.
If you don’t distinguish between these two, you’ll use the wrong tool every time.
- External Verification (The “Detective” Search): You have a file on your computer, and you want to upload it to the internet to see where else it exists. You’re looking for the source, the creator, or a higher-resolution version.
- Internal Organization (The “Janitor” Search): You have a file, and you want to scan your own hard drive to find duplicates or similar versions. You aren’t looking online; you’re looking inside your own machine.
We are going to cover both. Because frankly, you need both.
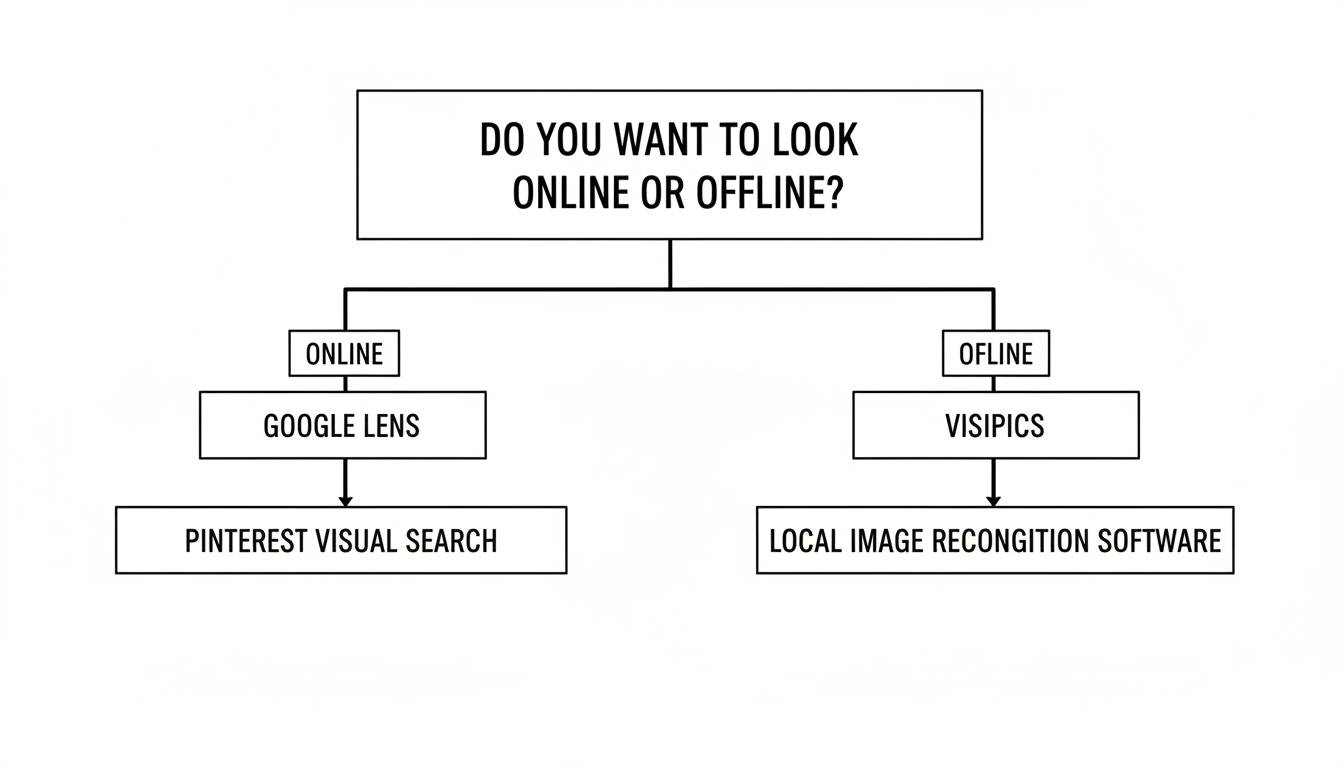
Method 1: How to Reverse Search Image in Local Files Using Google (Web)
Let’s start with the most common scenario: You have a file in your “Downloads” folder, and you need to find its origin. In 2026, Google Lens has completely replaced the old “Google Images” interface, and it’s significantly smarter.
I’ve tested this extensively against competitors like Bing and Yandex, and for general object recognition and sourcing, Google still holds the crown.
The Desktop “Drag and Drop” Technique
You don’t need to install anything. Here is the fastest workflow to reverse search image in local files using your browser:
- Open Google.com or Google Images in Chrome, Edge, or Firefox.
- Locate the Camera Icon (Lens) in the search bar.
- The Pro Move: Instead of clicking “upload,” simply drag your image file from your desktop folder and drop it directly onto the search bar.
- Google will analyze the visual fingerprint.
- Click “Find image source” at the top of the results to see exact matches across the web.
💡 Pro Tip
If you are using the Google Chrome browser, you don’t even need to open a new tab. Right-click on any image file you have open in the browser (even a local PDF viewing in Chrome) and select “Search Image with Google.” It opens a sidebar panel instantly.
Alternative: Bing Visual Search
Don’t sleep on Bing. In my testing, Bing’s “Visual Search” sometimes outperforms Google when you are trying to find the exact same image in a higher resolution, rather than just “visually similar” images. The process is identical: click the camera icon in the Bing search bar and upload your local file.
Method 2: Software to Reverse Search Image in Local Files (Offline)
Now, let’s flip the script. What if you don’t care about the internet? What if you just want to find out why your hard drive is full?
Uploading 10,000 personal photos to Google just to find duplicates is a privacy nightmare and a bandwidth hog. For this, you need offline software that scans your directory structure. These tools create a “hash” (a digital signature) of your photos and compare them against each other.
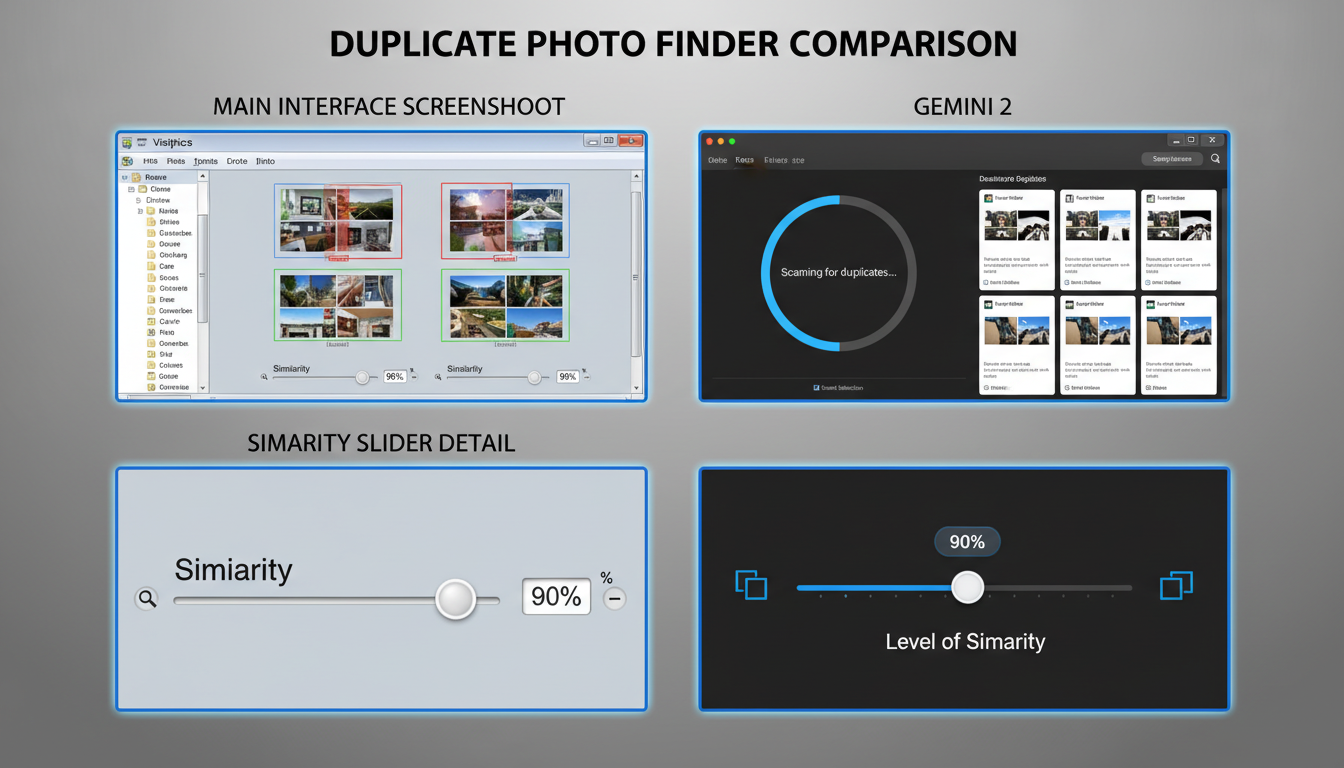
1. VisiPics (Windows)
It looks like it was built in Windows 98, but trust me—VisiPics is a beast. It’s free, lightweight, and aggressive. It doesn’t just find exact file matches; it finds visual similarities. If you have a photo and a slightly darker, resized version of that same photo, VisiPics will identify them as duplicates.
2. Gemini 2 (macOS)
If you are in the Apple ecosystem, MacPaw’s Gemini 2 is the gold standard. It’s beautiful to look at, but under the hood, it uses smart algorithms to suggest which version of a photo to keep (usually the highest quality or the one you edited last). I use this monthly to keep my SSD from exploding.
3. DigiKam (Open Source / Cross-Platform)
For the power users and photographers reading this: DigiKam is the way to go. It’s an open-source professional photo management tool. It has a “fuzzy search” feature that allows you to draw a rough sketch or use a reference image to reverse search image in local files across massive libraries (we’re talking 100,000+ images).
⚠️ Watch Out
Be very careful when using “Auto-Delete” features on duplicate finders. Always manually review the first few batches. I once saw a client accidentally delete their original RAW files because the software thought the smaller JPGs were “better” due to file size settings.
Method 3: Mobile Solutions (iOS & Android)
We live on our phones. If you have a photo in your Camera Roll and need to reverse search it, you don’t need to transfer it to a desktop first.
On iPhone (iOS)
Apple has integrated “Visual Look Up” directly into the Photos app, but for a true reverse search, the Google App is superior.
- Step 1: Install the official Google App.
- Step 2: Tap the camera icon in the search bar.
- Step 3: Grant access to your Photos.
- Step 4: Select the image. It will scan instantly.
On Android
It’s native. Open Google Photos, tap the image, and hit “Lens” at the bottom. It’s seamless. However, for finding local duplicates on Android, I recommend the “Files by Google” app. It has a “Clean” tab that uses visual recognition to suggest deleting memes, blurry photos, and duplicates.
Comparison: Which Tool Should You Use?
Still not sure which method fits your current crisis? Here is a breakdown based on my testing in early 2026.
| Tool | Best Used For… | Privacy Level | Cost |
|---|---|---|---|
| Google Lens | Finding image sources, products, or locations on the web. | Low (Uploads to Cloud) | Free |
| TinEye | Copyright tracking and finding exact matches. | Medium (Does not save search images) | Free / Paid API |
| VisiPics | Cleaning up duplicates on Windows hard drives. | High (100% Offline) | Free |
| Gemini 2 | Mac users wanting a polished duplicate finder. | High (100% Offline) | Paid |
| DigiKam | Pro photographers managing massive local libraries. | High (Open Source) | Free |
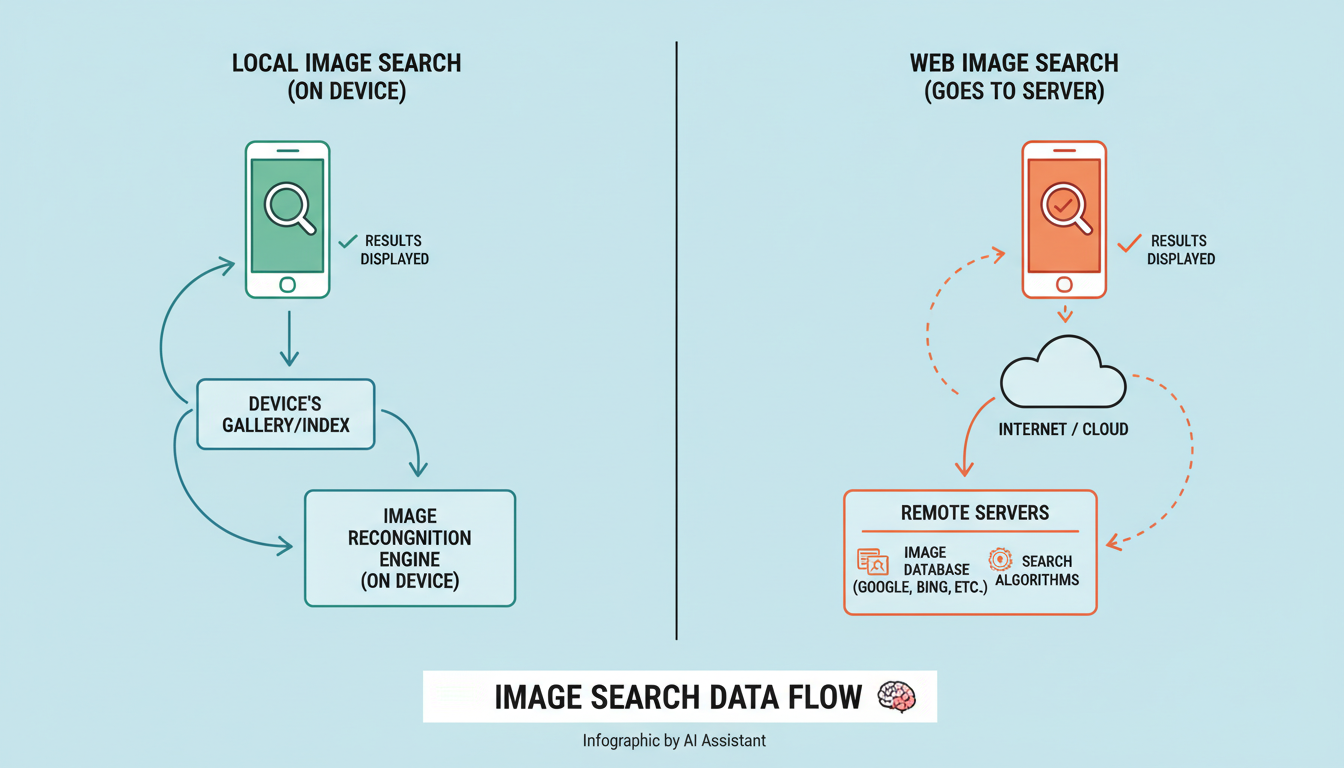
Privacy: The Elephant in the Room
We need to have a serious talk about privacy. When you use a tool like Google Lens or TinEye to reverse search image in local files, you are technically uploading that file to a third-party server.
For a picture of a sunset or a pair of sneakers? No problem. But for sensitive documents, photos of your kids, or proprietary business screenshots? Do not use web-based reverse search tools.
According to the Electronic Frontier Foundation (EFF), digital privacy is compromised the moment data leaves your local environment. If you need to find a sensitive image, stick to the offline tools mentioned in Method 2 (VisiPics, DigiKam). They process the data on your CPU, and nothing ever touches the cloud.
🎯 Key Takeaway
If you want to find where an image came from, use Google Lens. If you want to clean up your hard drive, use VisiPics or Gemini 2. Never upload sensitive personal or financial images to web-based search engines.
❓ Frequently Asked Questions
Can I reverse search an image without saving it?
Yes! If the image is already online, you can right-click it and select “Search Image with Google” or copy the image URL and paste it into TinEye. You only need to save it locally if the image currently only exists on your device.
Does Windows 11 have a built-in reverse image search?
Surprisingly, no. Windows File Explorer can search by metadata (date, type, tags), but it cannot “see” the image content. You must use third-party software or upload the image to Bing Visual Search via the Edge browser.
Why can’t Google find my local image?
If Google returns zero results, it usually means the image is unique (you took it yourself), it’s from a private social media account (which Google can’t index), or it has been heavily edited. Try using Yandex Images, which sometimes has stronger facial recognition algorithms.
Is it safe to use free online reverse search sites?
Stick to the major players (Google, Bing, TinEye). Many small, ad-heavy “free reverse search” sites are data farms. If you aren’t paying for the product, your data is likely the product.
Conclusion
Mastering the ability to reverse search image in local files gives you control over your digital environment. It stops you from hoarding duplicates and helps you verify the authenticity of the content you consume.
Don’t let your “Downloads” folder become a graveyard of mystery files. Whether you use the drag-and-drop simplicity of Google Lens or the deep-cleaning power of VisiPics, take five minutes today to try one of these methods. Your future self (and your hard drive storage) will thank you.

