The Critical Necessity to Resize Image for Passport Photo Online
Applying for a passport or visa is often a stressful process, and perhaps the single most common reason for application rejection is an incorrectly sized photograph. In the digital age, while taking a photo is easy, getting the dimensions exactly right—down to the last pixel—can be surprisingly challenging. If you are uploading a digital photo for an application, you absolutely need to know how to resize image for passport photo online correctly.
The requirements for passport and visa photos are stringent, demanding specific measurements (e.g., 2×2 inches for the US, 35×45 mm for Schengen countries) and often specific digital resolutions (DPI and aspect ratio). Attempting to guess or use standard cropping tools rarely yields compliant results. This comprehensive guide will walk you through the necessary steps, tools, and technical specifications to ensure your photo meets every standard, saving you time and preventing frustrating delays in your travel documentation process.
“A compliant passport photo is not just about the quality of the image; it is fundamentally about adhering to precise biometric measurements required for international identification systems.”
Why Exact Dimensions Matter: The Challenge of International Photo Specifications
Passport agencies worldwide rely on sophisticated software to verify identity. These systems require facial features to occupy a specific percentage of the total image area, necessitating precise resizing. A photo that is too zoomed in, too far out, or simply the wrong dimension will fail automated checks.
US Passport Photo Requirements
Must be 2 x 2 inches (51 x 51 mm). Head must be between 1 inch and 1 3/8 inches (25 mm and 35 mm) from the bottom of the chin to the top of the head. Digital submissions often require specific pixel counts (e.g., 600×600 minimum) and a high DPI.
Schengen (EU) Visa Photo Requirements
Typically 35 x 45 mm. The face length (from chin to hairline) must measure between 32 and 36 mm. This requires careful cropping and resizing, often needing an automated tool to maintain the exact ratio.
Indian Passport Photo Requirements
Often 35 x 45 mm for physical copies, but digital submissions may vary. Specific instructions regarding the background color (usually white) and file size limits (e.g., 10 KB to 300 KB) are common.
The Critical Need to Resize Image for Passport Photo Online Accurately
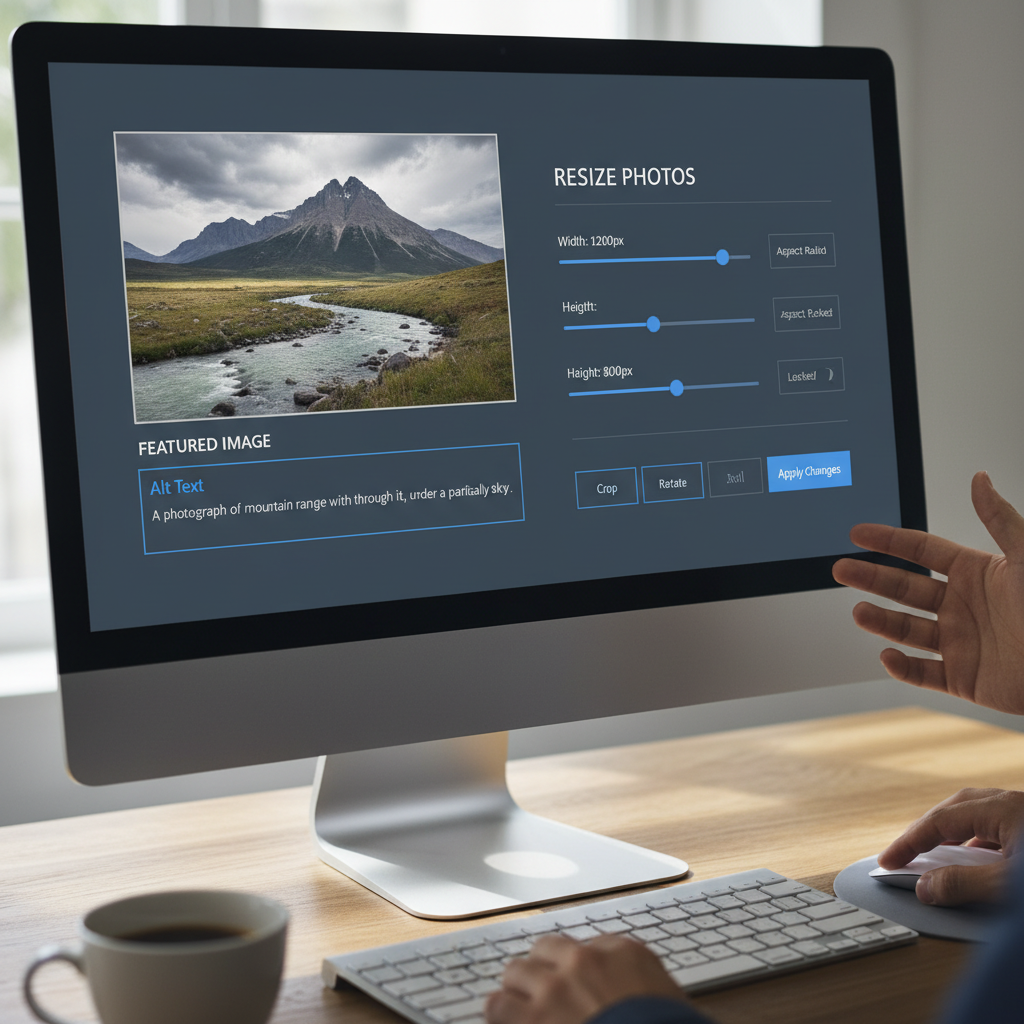
Manual resizing using generic photo editors can introduce distortion or loss of quality. When you attempt to resize image for passport photo online, you need a tool that understands the required aspect ratio and doesn’t simply stretch the image, which would make the photo unusable. Using specialized online tools ensures that the cropping is centered, the resolution is maintained, and the final output matches the government’s exact specifications.
Selecting the Ideal Tool to Resize Image for Passport Photo Online
Not all online resizing tools are created equal. For something as sensitive as official documentation, you need reliability, precision, and privacy. The best tools offer pre-set templates for various countries, allowing you to select “US Passport” or “UK Visa” and have the dimensions handled automatically.
Features to Look for in a Passport Photo Resizer:
- Country-Specific Templates: Automation based on official requirements.
- DPI Adjustment: The ability to change the Dots Per Inch to meet digital submission requirements (often 300 DPI).
- Facial Recognition Cropping: Tools that help center the face automatically according to biometric rules.
- File Size Optimization: Ability to compress the file size (e.g., under 100 KB) without sacrificing visual quality.
Many users find that a dedicated Image Resizer built specifically for technical compliance offers the easiest and most reliable path to success. These tools strip away unnecessary complexity while focusing on precise output dimensions.
Step-by-Step: How to Resize Image for Passport Photo Online Safely
Follow these steps to ensure your photo is resized correctly for submission:
- Upload Your Original Photo: Start with a high-resolution, clear photo taken against a plain white or off-white background.
- Select Destination Country and Document Type: Choose the country (e.g., Canada) and document (e.g., Passport or Visa) from the tool’s template list. This automatically loads the required dimensions (e.g., 50×70 mm).
- Center and Crop: The online tool will usually display an overlay guide. Adjust the cropping box to ensure your head is centered and occupies the required percentage of the frame.
- Verify Digital Specifications (DPI/Pixels): Check the output settings. If the application requires a minimum pixel count (e.g., 1200×1200) or a specific DPI, ensure the tool handles this conversion without interpolation that degrades quality.
- Download and Review: Download the final resized image. Before submission, always compare the dimensions and file size against the official application guidelines one last time.
Technical Specs When You Resize Image for Passport Photo Online: DPI and Aspect Ratio
While physical dimensions (like 2×2 inches) are easy to visualize, digital requirements involve two key technical factors: DPI and Aspect Ratio.
Understanding DPI (Dots Per Inch)
DPI refers to the resolution of the image when printed. For digital submissions, high resolution is crucial. Most applications require photos to be 300 DPI or higher. If your original image was taken with a smartphone, its native resolution might be high, but the effective DPI when resized to a small format might change. A good online resizing tool ensures that when the physical size is reduced, the pixel density (or resolution) remains compliant.
Mastering Aspect Ratio
Aspect ratio is the proportional relationship between the width and height. A 2×2 inch photo has a 1:1 aspect ratio (square). A 35×45 mm photo has an aspect ratio of approximately 7:9. Stretching a photo designed for 1:1 into a 7:9 space will distort your features. Dedicated online tools maintain the correct aspect ratio while scaling the image to the required dimensions, which is essential when you resize image for passport photo online.
Aspect Ratio Mismatch Warning
If you force a non-square photo into a square dimension without proper cropping, the image will appear squashed or stretched, leading to automatic rejection by biometric software. Always use the designated aspect ratio for the target country.
The Importance of File Format
Most agencies require JPEG (.jpg) files. Ensure your resizing tool outputs the image in the required format. Some systems require non-compressed formats like TIFF, though this is less common for standard digital submissions.
Security and Efficiency When You Resize Image for Passport Photo Online
When uploading sensitive biometric data, security must be paramount. While convenience drives us to use online tools, ensuring the platform is trustworthy is non-negotiable.
Data Privacy and Retention
A reputable online photo resizer should explicitly state its privacy policy, confirming that uploaded photos are not stored, shared, or used for any purpose other than resizing. Look for tools that emphasize immediate deletion of uploaded data after processing.
The US Department of State provides detailed guidance on acceptable digital photo standards, emphasizing the need for high-quality, unaltered images. This guidance serves as a benchmark for what secure, compliant photo resizing should achieve. (Source: U.S. Department of State).
Avoiding Common Resizing Pitfalls
Many people make simple mistakes that lead to rejection, even after resizing the dimensions correctly.
Pitfall 1: Background Issues
The background must be plain white or off-white, free of shadows, patterns, or objects. Resizing tools focus on dimensions but cannot fix a messy background.
Pitfall 2: Over-Compression
If the final required file size is very small (e.g., under 50 KB), excessive compression can lead to pixelation. Always prioritize resolution and only compress minimally to meet the file size limit.
Pitfall 3: Filter Use
Do not use filters, excessive smoothing, or heavy editing. Passport photos must accurately reflect your current appearance. Ensure the tool you use to resize image for passport photo online does not apply unintended enhancements.
Pitfall 4: Outdated Specs
Requirements change. Always check the official government website for the most current dimensions and digital file parameters before you begin resizing. For instance, the UK Government provides clear, continuously updated guidelines on digital photo specifications for visa applications. (Source: GOV.UK).
Optimizing File Size for Digital Submissions
Beyond dimension and DPI, file size (measured in KB or MB) is a frequent bottleneck. Most government portals have a strict upload limit (e.g., 300 KB). If your high-resolution original photo is 5 MB, resizing it to 2×2 inches won’t necessarily reduce the file size enough.
Advanced online resizers incorporate efficient compression algorithms. They optimize the JPEG quality setting (typically between 80% and 90%) to meet the file size requirement without visible degradation. This balancing act is crucial for a successful digital submission.
While this article focuses on photos, optimizing file sizes is similar to optimizing data for other digital uses. For example, understanding how variables interact is also key when using tools like an Compound Interest Calculator, where slight changes in input drastically affect the output.
Mastering the process to resize image for passport photo online is essential for modern international travel applications. By using specialized tools and paying meticulous attention to both the physical dimensions and the underlying digital specifications, you can ensure your application moves forward without bureaucratic hold-ups related to image compliance.
FAQs
While technically possible, it is highly discouraged unless you are an expert. Standard editors make it difficult to maintain the exact biometric proportions and DPI settings required by government agencies. Specialized online tools are recommended because they use country-specific templates that automatically handle the precise aspect ratio and cropping necessary to prevent rejection.
The most common reasons for rejection are incorrect head size proportion and failure to meet the digital file size or DPI requirements. Many applicants successfully resize the overall image to 2×2 inches, but fail to ensure the head occupies the required percentage (e.g., 50%-69%) of the total frame, which is critical for biometric scanning systems.
Yes, absolutely. Even for digital submissions, many countries require a minimum DPI (Dots Per Inch), often 300 DPI, to ensure the photo is high-resolution enough for digital storage and potential printing. If the DPI is too low, the photo will be rejected as low quality, regardless of the pixel dimensions.
Always choose a reputable service that clearly states its data privacy policy. Look for explicit guarantees that your uploaded image is deleted immediately after processing and that the image is not stored or shared. Avoid tools that require extensive personal information unrelated to the photo resizing process itself.
While requirements vary by country, a common standard is a minimum of 600 pixels by 600 pixels for a square photo (like the US passport). For non-square formats (like 35×45 mm), the minimum pixel count should maintain the correct aspect ratio, often falling around 827 pixels by 1063 pixels at 300 DPI.
Read Also:
- The Ultimate Guide to SSL Verification: How to Use a Check If Website Is Safe Tool and Protect Your Data
- Decoding the CAT Score vs Percentile Predictor 2025: Your Essential Guide
- The Ultimate Guide to Instantly Create Pie Chart from Data Online
- Mastering the USD to INR Currency Converter Live: Your Ultimate Guide to Real-Time Exchange Rates
- 10 Proven Ways a Habit Tracker Can Revolutionize Your Productivity in 2025
- Square Yards to Tons Calculator Guide: Stop Overpaying for Materials (2026)
- Schema Secrets to Dominate Google in 2026
- mg/L to mg/kg: Your 2026 Conversion Guide
- Create Pro Bar Graphs Free in 2026
- Master Word’s Change Case Shortcut (Shift+F3) in 2026
- Your 2026 Guide to Website Safety
- Your 2026 Hydration Guide: Unlock Peak Health

