The Revolution of Digital Art: An Introduction
The digital landscape is undergoing a seismic shift. Not long ago, creating a high-quality visual required years of artistic training or a significant budget for graphic designers. Today, the barrier to entry has vanished. Learning how to generate AI images has become one of the most sought-after skills in the creative and marketing worlds. Whether you are a blogger looking for the perfect featured image, a small business owner needing branding assets, or an enthusiast exploring the boundaries of technology, AI image generation offers a playground of infinite possibilities.
Artificial Intelligence doesn’t just ‘copy’ images; it understands concepts. By training on billions of image-text pairs, these models have learned the relationship between words like ‘sunset,’ ‘oil painting,’ and ‘cyberpunk.’ When you ask an AI to create something, it synthesizes these concepts into a brand-new, unique piece of art. In this guide, we will walk you through the entire process, from understanding the basics to mastering advanced prompt engineering.
Speed and Efficiency
Generate high-resolution visuals in seconds rather than hours, allowing for rapid prototyping and content creation.
Cost-Effectiveness
Reduce the need for expensive stock photo subscriptions or freelance design costs for basic visual assets.
Infinite Creativity
Explore styles and concepts that would be physically impossible or too complex to draw manually.
The Core Mechanics of How to Generate AI Images
Before diving into the tutorial, it is helpful to understand what happens behind the scenes. Most modern image generators use a technology called “Latent Diffusion.” Essentially, the AI starts with a canvas of random noise (like television static) and gradually reshapes that noise into a coherent image that matches your text description. This iterative process is why you often see the image ‘clearing up’ as it generates.
Authority sources like OpenAI’s research on DALL-E explain that these models rely on deep learning to maintain consistency and follow complex instructions. When you learn how to generate AI images, you are essentially learning how to communicate with these neural networks effectively.
Choosing the Right Tool: How to Generate AI Images Effectively
There are numerous platforms available today, ranging from simple web interfaces to complex professional suites. Choosing the right tool depends on your technical comfort level and your specific needs. For those looking for a streamlined, accessible experience that bridges the gap between simple prompts and artistic output, the Tools River suite offers excellent utility.
While exploring the creative side of technology, you might also find yourself needing practical tools for daily tasks. For instance, the same ecosystem that provides creative tools also offers helpful utilities like a weight converter or a volume converter, proving that digital efficiency spans both art and mathematics.
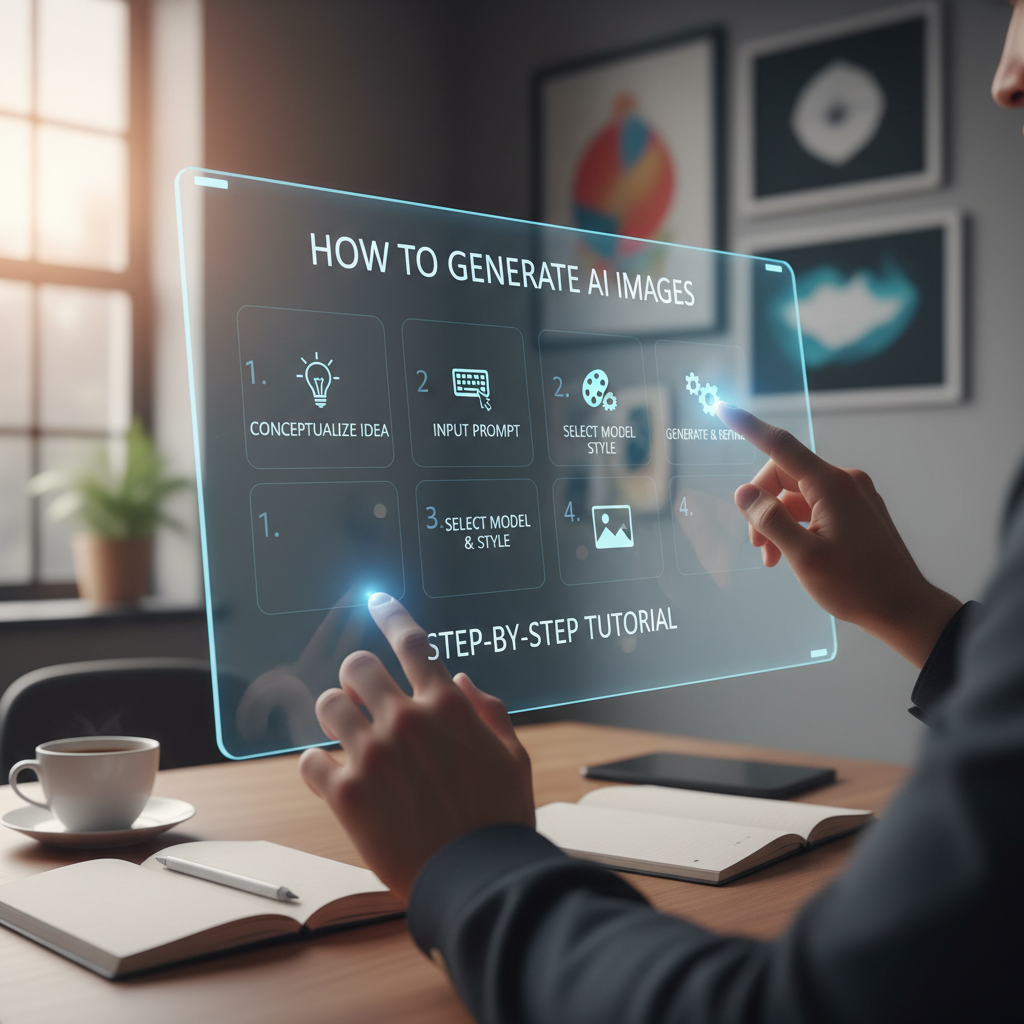
Step-by-Step Guide: How to Generate AI Images with Tools River
The Tools River Image Generator (often used as an image-to-sketch and creative converter) is a fantastic starting point for beginners and pros alike. Here is how to use it to get the best results.
Step 1: Define Your Concept
Before clicking any buttons, have a clear vision. Are you looking for a realistic portrait, a charcoal sketch, or a vibrant landscape? The more specific you are in your mind, the better your prompt will be.
Step 2: Enter Your Prompt
Navigate to the generator and locate the text input field. This is where you describe your image. Instead of just typing “a dog,” try “a golden retriever sitting on a porch during a golden hour sunset, cinematic lighting, highly detailed.” This level of detail helps the AI understand the mood and composition.
Step 3: Select Styles and Settings
Many generators allow you to choose a specific style filter. If you are using a sketch-focused tool, you might select between “pencil sketch,” “ink drawing,” or “digital painting.” These settings act as a guide for the AI’s aesthetic choices.
Step 4: Generate and Iterate
Hit the generate button. Within a few seconds, you will see your result. Don’t be discouraged if the first result isn’t perfect. Learning how to generate AI images is an iterative process. You can refine your prompt, change the style, or adjust the settings to try again.
The Subject
Be specific about what is in the image (e.g., “An ancient oak tree”).
The Environment
Describe the background and setting (e.g., “in a misty, ethereal forest”).
The Lighting
Set the mood with light descriptions (e.g., “dramatic moonlight, soft shadows”).
The Style
Define the medium (e.g., “hyper-realistic photography” or “watercolor painting”).
Mastering Prompt Engineering for How to Generate AI Images
Prompt engineering is the art of crafting text that the AI can interpret accurately. To get professional-grade results, you should use “weighted” keywords. For example, using terms like “8k resolution,” “unreal engine 5 render,” or “masterpiece” can signal the AI to prioritize high-quality textures and lighting. According to the Midjourney Documentation, the order of words matters; the most important elements should come first in your prompt.
Refining Your Results: How to Generate AI Images Like a Pro
Once you have a base image, you can use advanced techniques to polish it. One such technique is “Negative Prompting.” This involves telling the AI what not to include, such as “no blur,” “no distorted hands,” or “no text.” This helps eliminate common AI artifacts and improves the overall clarity of the generation.
Common Mistakes to Avoid
Even seasoned users run into issues. One of the biggest mistakes is being too vague. A prompt like “a beautiful scene” is too subjective for the AI. Another mistake is over-complicating the prompt with contradictory terms, like asking for a “dark, moody scene with bright, sunny colors.” This confuses the model and leads to muddy results.
- Avoid Keyword Stuffing: Adding too many unrelated adjectives can dilute the main subject.
- Check Your Aspect Ratios: Ensure you choose the right dimensions (square, landscape, or portrait) before generating.
- Watch for AI Hallucinations: AI sometimes struggles with human anatomy, specifically fingers and teeth. Always review the details.
Best Practices for How to Generate AI Images
To truly excel, you should treat the AI as a collaborative partner. Use it to brainstorm ideas, then take those ideas and refine them. Many professionals use AI-generated images as a base and then use photo editing software like Photoshop to fix small errors or add personal touches. This hybrid approach ensures that the final product is both unique and technically sound.
Example Prompt 1
“A futuristic cityscape at night, neon lights reflecting in puddles, cyberpunk aesthetic, 8k, highly detailed, sharp focus.”
The Ethics and Future of AI Art
As you learn how to generate AI images, it is important to stay mindful of the ethical landscape. Always respect copyright and avoid generating images that mimic the specific style of living artists without their consent. The goal of AI should be to augment human creativity, not replace the soul of artistic expression. As the technology evolves, we can expect even more control over the generation process, including better text rendering and more consistent character creation across multiple images.
Conclusion
Mastering how to generate AI images is a journey of exploration and experimentation. By understanding the underlying technology, choosing the right tools like those found on Tools River, and honing your prompt engineering skills, you can unlock a world of visual potential. Start with simple descriptions, observe how the AI responds, and gradually add complexity to your prompts. Remember, the only limit is your imagination. Whether for work or play, AI image generation is a powerful tool that is here to stay, transforming the way we visualize our ideas and share them with the world.
The best way to start is by using user-friendly web-based tools like the Tools River generator. Start with simple prompts and gradually experiment with different styles, lighting, and descriptive adjectives to see how the AI reacts.
This depends on the specific tool’s terms of service. Most paid platforms allow commercial use, but it is essential to check the license agreement of the generator you are using to ensure you have the necessary rights.
AI models learn from 2D images and don’t always understand the 3D geometry of complex objects like human hands. Similarly, while they are getting better at text, they often treat letters as shapes rather than linguistic symbols, leading to misspellings.
A negative prompt is a list of elements you want the AI to exclude from the image. Common negative prompts include things like “blurry,” “deformed,” “extra limbs,” or “low resolution.”
Yes, but quality is more important than quantity. A medium-length, descriptive prompt (30-60 words) usually performs better than a very short one or an excessively long one that might confuse the AI with too many conflicting details.

